MIG Welding for Beginners: Setup, Technique and Common Mistakes
MIG welding (GMAW) is the easiest arc welding process for beginners because a wire feeder supplies continuous filler metal automatically when you pull the gun trigger. On mild steel, set your machine to DCEP polarity, load ER70S-6 solid wire, use 75% argon / 25% CO2 shielding gas at the flow your machine manual specifies (Miller suggests starting near 20 CFH), and match voltage and wire speed to your metal thickness.
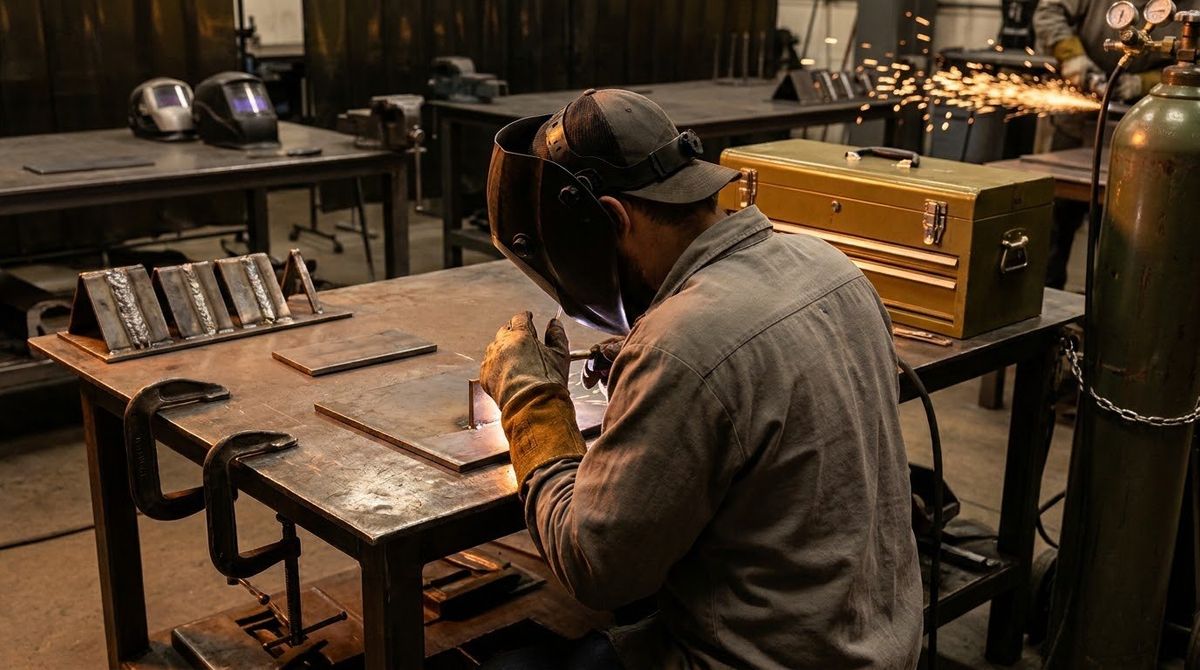
From the guide: Types of Welding Processes Explained: MIG, TIG, Stick, Flux-Core and More
Gas Metal Arc Welding (GMAW)—universally called MIG welding—is the fastest way for a beginner to go from unboxing a welder to laying strong, clean beads on mild steel, as introduced in our types of welding processes guide. Because the machine feeds a continuous wire electrode automatically while shielding gas protects the molten pool, you can focus on torch angle, travel speed, and watching the puddle.
Before striking an arc, make sure you have the right machine—see our MIG welder recommendations for first-timers—and review how GMAW compares to precision tungsten welding in how it stacks up against TIG. This guide walks through every setup step, gun technique, and troubleshooting fix grounded in manufacturer documentation and OSHA safety rules.
How MIG Welding Works
When you squeeze the MIG gun trigger, four things happen simultaneously:
- The wire-drive motor feeds solid filler wire through the gun liner and copper contact tip.
- The constant-voltage (CV) power source energizes the wire, creating an electric arc when it touches the grounded workpiece.
- Shielding gas flows through the diffuser and nozzle to blanket the molten weld pool from oxygen, nitrogen, and hydrogen in the air.
- The wire melts into the joint, fusing the base metals together without leaving slag.
For a starting point on voltage, wire speed and gas flow, try the welding amperage and settings calculator and then confirm against your machine’s chart.
Most home and light-fabrication MIG welders run in short-circuit transfer mode, where the wire touches the puddle and short-circuits many times per second, keeping heat input manageable on thin and medium steel.
Step-by-Step MIG Welder Setup
Follow this checklist every time you set up a machine for mild steel.
1. Check Polarity (DCEP)
Solid-wire MIG welding requires Direct Current Electrode Positive (DCEP)—meaning the MIG gun cable connects to the positive (+) terminal and the work clamp connects to the negative (-) terminal. If your machine was previously set to DCEN for flux-core welding, swap the polarity leads inside the wire-feed compartment before loading solid wire.
2. Install the Right Wire and Drive Roll
Choose your ER70S-6 mild steel wire diameter based on metal thickness and your machine manual (Miller recommends 0.023 or 0.024 inch for most light-gauge sheet metal, and 0.030 inch may work on 18-gauge and thicker):
- 0.023–0.024 inch: Recommended by Miller for most light-gauge sheet metal.
- 0.030 inch: A versatile size for 18-gauge and thicker steel, within your machine’s rated thickness.
- 0.035 inch: A common larger size on machines whose manual lists it for thicker plate; check your chart.
Confirm the drive roll groove matches your wire diameter and uses a smooth V-groove profile (not a knurled flux-core roll). Set drive-roll tension just tight enough to feed smoothly without crushing or bird-nesting the wire if you pinch it lightly against a gloved thumb.
3. Connect and Set Shielding Gas
For mild steel, attach a 75% argon / 25% carbon dioxide (C-25) cylinder to your regulator/flowmeter. C-25 delivers a smooth, stable arc with low spatter and flat bead appearance. Open the cylinder valve slowly, squeeze the trigger (with drive rolls disengaged or wire trimmed) to purge air from the hose, and adjust the flowmeter to the rate in your machine manual while gas is flowing. Miller suggests starting light-duty work near 20 CFH; Lincoln’s Power MIG 256 manual lists typically 25-35 CFH.
4. Dial In Voltage and Wire Feed Speed
Open the door of your MIG welder to find the manufacturer’s parameter chart—it gives reliable starting points for voltage and wire feed speed (WFS) based on wire diameter and material thickness. You can also estimate starting ranges using our free welding tools.
- Listen to the arc: When voltage and wire speed are balanced on short-circuit MIG, the arc sounds like bacon frying steadily.
- If the wire stubs and pops: Wire feed speed is too high for the voltage (or voltage is too low).
- If the arc crackles, spits, and burns back to the tip: Wire feed speed is too slow or voltage is too high.
Essential MIG Welding Technique
Even with perfect settings, weld quality depends on five physical habits.
Clean the Base Metal
Grind or flap-disc away mill scale, rust, paint, oil, and galvanizing at least 1 inch back from the weld joint. Unlike stick electrodes or flux-core wire, solid MIG wire contains only small amounts of deoxidizers and will produce porosity or cold-lap over dirty steel.
Clamp the Ground Tightly
Attach the work clamp directly to bare, clean metal as close to the weld zone as practical. A weak ground through rusty table legs causes erratic arc starts and poor penetration.
Maintain 3/8-Inch Stick-Out
Trim the wire to about 3/8 inch past the copper contact tip before starting, and hold stick-out near 3/8 inch as you travel. Excessively long stick-out starves the puddle of shielding gas and drops weld current.
Gun Angle: Push vs. Pull
Angle the gun in the direction of travel (Miller suggests starting around 15 degrees):
- Push (forehand): Point the nozzle slightly ahead into the unwelded joint. Pushing gives a clearer view of the seam, a flatter bead, and slightly shallower penetration—great for thin sheet metal.
- Pull (drag): Point the nozzle back toward the finished weld bead. Pulling concentrates heat for deeper penetration on thicker 1/8-inch to 1/4-inch plate.
Travel Speed and Puddle Manipulation
Move steadily enough to keep the arc on the leading edge of the molten puddle. If you move too slowly, the puddle builds up tall and risks burning through; if you move too fast, the bead looks thin, ropy, and sits on top of the metal without fusing. Small circular, cursive-”e”, or slight crescent motions help tie both edges of a fillet or butt joint together cleanly.
Troubleshooting Common MIG Mistakes
- Porosity (pinholes in the bead): Verify the cylinder valve is open, check the flowmeter against your manual, clean spatter out of the nozzle, block shop drafts/fans, and re-clean the metal.
- Burn-through on thin metal: Drop voltage and wire speed, switch to 0.023-inch wire, use a push angle, or weld in short 1-inch stitch tacks while letting the panel cool between passes.
- Bird-nesting at the drive rolls: Loosen excess spool-hub tension, replace a worn or oversized contact tip, and ensure the MIG gun cable lies in a gentle curve without tight kinks.
- Lack of fusion (cold-lap): Slow down slightly, keep the wire aimed at the leading edge of the puddle rather than riding on top of cold weld metal, and verify DCEP polarity.
MIG Welding Safety Rules (YMYL)
Before striking an arc, follow OSHA 29 CFR 1910.252 and ANSI Z49.1 requirements covered in our welding safety and PPE guide:
- Fumes and ventilation: NIOSH notes that welding fumes are composed of metals and most contain a small percentage of manganese, with long-term high exposure linked to neurological effects. Use local exhaust or mechanical ventilation, and never weld galvanized or coated steel without stripping the coating and wearing appropriate respiratory protection. OSHA 1910.252(c) requires local exhaust ventilation or airline respirators for work on zinc-bearing, lead-bearing or cadmium-coated metals indoors.
- Arc eye and skin burns: Wear a welding helmet with a filter lens of the shade OSHA 1910.252 and your helmet’s chart specify for the process, safety glasses with side shields underneath, leather MIG gloves, and flame-resistant long sleeves and pants with no cuffs or open pockets that catch hot spatter.
- Fire prevention: Relocate combustibles at least 35 feet from the work site where practicable, otherwise shield them with fire-resistant covers, keep a fire extinguisher nearby, and maintain a fire watch for at least a half hour after finishing (OSHA 1910.252(a)).
- Electric shock: Keep cables dry, inspect gun insulation, and never weld while standing on wet surfaces.
- Compressed gas cylinders: Keep your cylinder secured upright with valve protection cap on when moving it, and close the valve when work is finished (OSHA 1926.350 cylinder rules).
Disclaimer: Always consult your welder’s owner’s manual, consumable data sheets, and OSHA/ANSI Z49.1 safety guidelines before welding.
Next Steps
Stock up on the right wire and contact tips in our welding supplies and consumables guide, or compare wire-feed speed to tungsten precision in choosing between MIG and TIG.
Questions we get
What polarity is used for MIG welding mild steel?
Solid-wire MIG welding (GMAW) uses Direct Current Electrode Positive (DCEP), also called reverse polarity. The MIG gun lead connects to the positive terminal and the work clamp connects to the negative terminal, producing stable arc transfer and good penetration on mild steel, stainless, and aluminum.
What gas flow rate (CFH) should I set for MIG welding?
Set the flowmeter to the rate in your machine manual or wire maker's data. Miller suggests starting light-duty work near 20 cubic feet per hour (CFH), and Lincoln's Power MIG 256 manual lists typically 25 to 35 CFH. Too much flow can create turbulence that pulls air into the puddle and causes porosity (Hobart Brothers lists turbulent gas flow as a porosity cause).
Should you push or pull a MIG welding gun?
Both techniques work on solid-wire MIG, depending on the goal. Pushing (forehand) gives you a clear view of the joint and produces a flatter, wider bead with slightly less penetration, while pulling (drag) increases penetration and creates a narrower, taller bead.
Why is my MIG weld full of pinholes (porosity)?
Porosity occurs when atmospheric oxygen or nitrogen contaminates the molten weld pool. Common causes include welding outdoors in a breeze, forgetting to turn on the shielding gas cylinder, a clogged nozzle, excessive stick-out, or welding over rust, paint, oil, and mill scale.
What wire size should a beginner buy for MIG welding?
Miller recommends 0.023- or 0.024-inch wire for most light-gauge sheet metal and says 0.030-inch wire may work on 18-gauge and thicker. ER70S-6 is a common mild steel solid wire. Always confirm the wire sizes your machine's drive rolls and manual support before buying a spool.
How long should MIG wire stick-out be?
Keep stick-out (the distance from the contact tip to the workpiece) near 3/8 inch. Miller warns that extending it too far reduces heat input and can compromise gas coverage, which can cause porosity and an unstable arc. Lincoln's Power MIG 256 manual also says to hold the contact tip to work distance at about 3/8 inch, so trim the wire accordingly before starting.
Where we got this
- Miller Electric: Buying Your First Welder — A Practical Guide for Do-It-Yourselfers (millerwelds.com)
- Miller Electric: Successfully Welding Sheet Metal with MIG and TIG (millerwelds.com)
- Miller Electric: MIG Welding Tips and Techniques for Beginners (millerwelds.com)
- Lincoln Electric Power MIG 256 Operator Manual (gas flow and stick-out) (manualslib.com)
- Hobart Brothers: GMAW Troubleshooting Guide (hobartbrothers.com)
- OSHA 29 CFR 1926.350 — Gas welding and cutting (cylinder handling) (osha.gov)
- OSHA 29 CFR 1910.252 — Welding, Cutting, and Brazing General Requirements (osha.gov)
- AWS / ANSI Z49.1:2021 Safety in Welding, Cutting, and Allied Processes (pubs.aws.org)
- CDC / NIOSH Welding Fumes and Manganese (cdc.gov)
Keep reading
- Types of Welding Processes Explained: MIG, TIG, Stick, Flux-Core and More
Learn the 4 main types of welding—MIG, TIG, Stick, and Flux-Core—how each works, compatible metals, and how to pick the right process.
- Flux-Core Welding (FCAW) Guide: Self-Shielded vs Gas-Shielded
Learn flux-core welding (FCAW): self-shielded FCAW-S vs gas-shielded FCAW-G, DCEN vs DCEP polarity, knurled drive rolls, drag technique, and fume safety.
- MIG vs TIG Welding: Differences, Costs and When to Use Each
Compare MIG vs TIG welding on speed, weld appearance, skill level, gas requirements, and equipment cost to pick the right process for your project.
- Stick Welding (SMAW) Guide: Rods, Amperage and Technique
Learn stick welding (SMAW): how E6010, E6011, E6013, and E7018 rods work, polarity and amperage ranges, arc striking, drag technique, and safety.
- TIG Welding Guide: How GTAW Works and How to Start
Learn TIG welding (GTAW) step by step: DCEN vs AC polarity, argon flow, tungsten prep, filler technique, and safety rules.
- Welding Joint Types and Positions: Butt, Tee, Lap, Corner, Edge and 1G-6G
Learn the 5 basic weld joint types and the flat, horizontal, vertical, and overhead positions, plus what the 1G-6G and 1F-4F position codes mean.